NH Homesteader
Sustainability Master
- Joined
- Sep 6, 2016
- Messages
- 7,800
- Reaction score
- 6,675
- Points
- 347
I am so going to try that sometime!
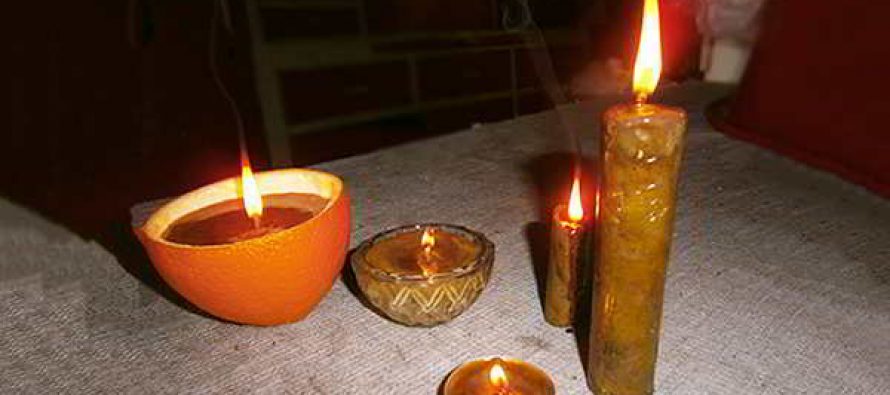
By Arminius (from askaprepper)
The pine tree is one of the most overlooked natural resources as it has multiple survival uses. The entire tree is edible, from the bark to the pine cones. You can make pine needle tea or use the roots as cordage.
The most versatile item is the pine resin, you can use it to make candles, glue, treat wounds, to start a fire, a water-proof sealant and many more.
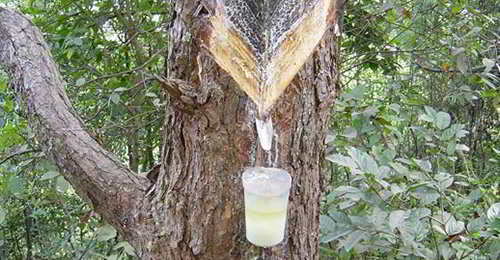
To tap a pine tree, use an axe or a machete to cut the bark. Tie a bucket around the tree at the bottom of your area. The bucket must stay firm against the tree as it will collect the pine sap. Hack “V” shaped notches in the cleared area pointed to the bucket. You can gather even more sap if you stick a beak like metal object to direct the sap to the bucket.
Pine candles shine brightly and give you one of the greatest scents—pine wood.
Necessary Ingredients
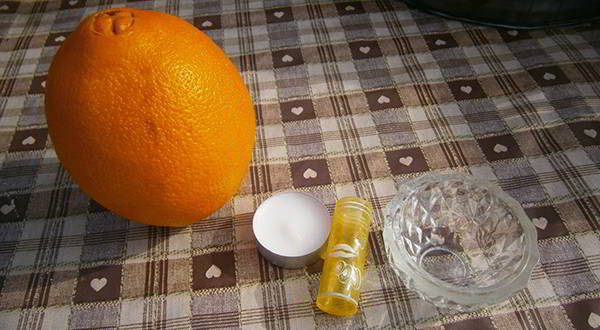
I thought that I’d use more types of containers. It’s always fun to experiment.
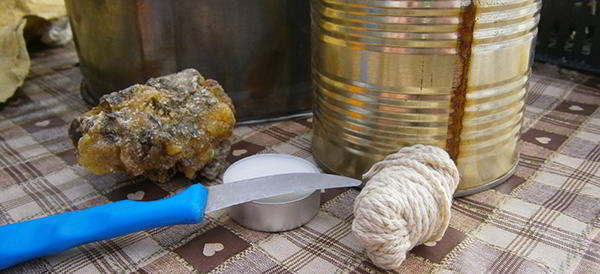
- At least one container to melt the resin in (a tin can in this case)
- Another container that will be used for the candles
- Some rope to make the wick
- A knife
- A fireplace or someplace to melt the resin
- And, of course, the resin
Step One: Melting the Resin
After you light the fire, fill your container with the resin. Don’t be scared to fill it to the brim as it will melt down and fill in all the gaps.
Also, it will be even less if you want to filter it out, so it’s fine to go all out.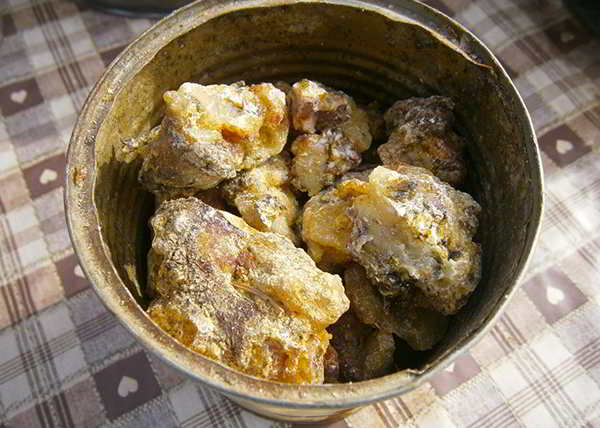
WARNING: The resin might catch on fire if the heat is too high. Just take it off the fire with some pliers, and blow the flames out. Make sure you never hold the can—it gets extremely hot. Be sure to stand next to it while it melts as it may burn to ash if you’re not careful.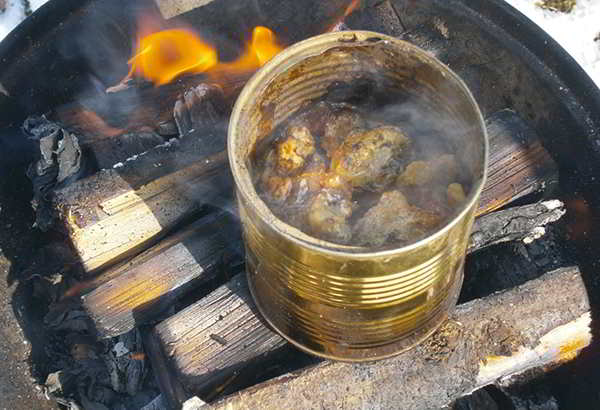
While all the resin melts, start working on getting the candle holders ready.
Step Two (Optional): Filtering Out All the Yuck
After melting it all down, you will need another container and something to filter out the bark and the pine needles. I used an old fish landing net.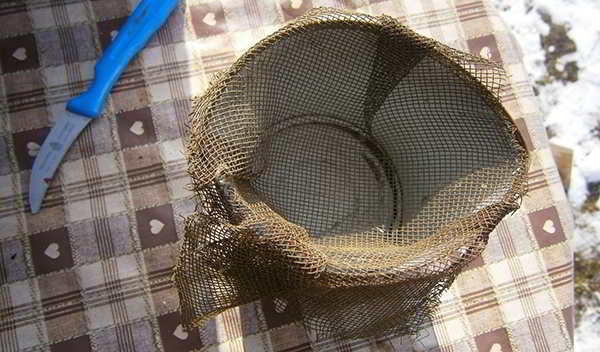
Get the filter ready, and pour the hot resin over it and into the container. You will need to work quickly because it cools off fast and might clog up the holes of the filter. For this to work, you will need to move the resin around a little bit so that it can go down into the container.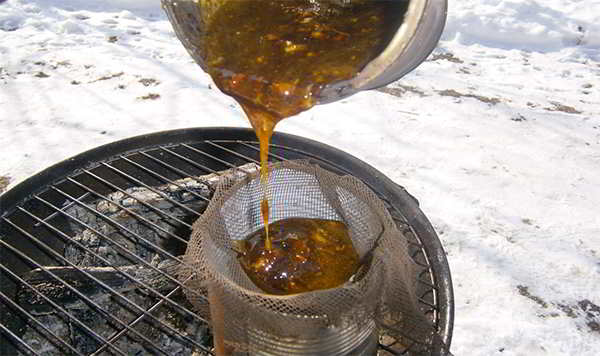
Step Three: Making the Candles
After getting your container ready and cutting the rope to the perfect size, you are ready to make your candles. You might have to put the filtered resin back onto the fire to get it ready for pouring once again.
Pour a little bit of hot resin into the candle holder; it will help to fix the wick.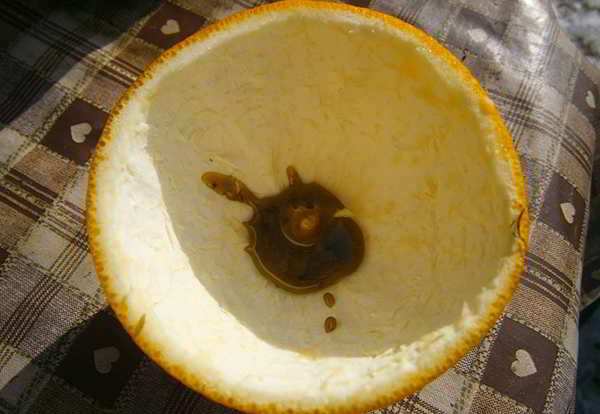
After this, dip the rope into the resin quickly for it to soak some up. This is necessary to get the wick standing straight while you’re pouring the resin.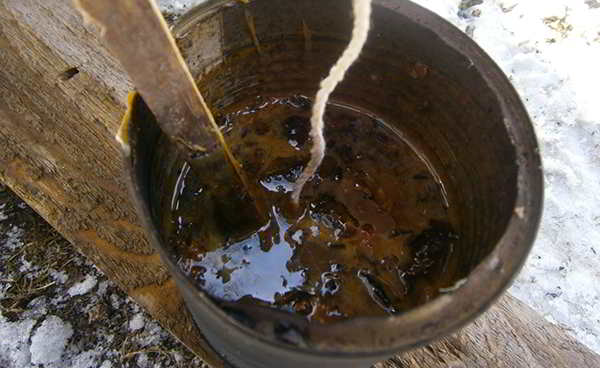
Now you just have to put the wick in and leave it to rest for a few seconds so it can harden.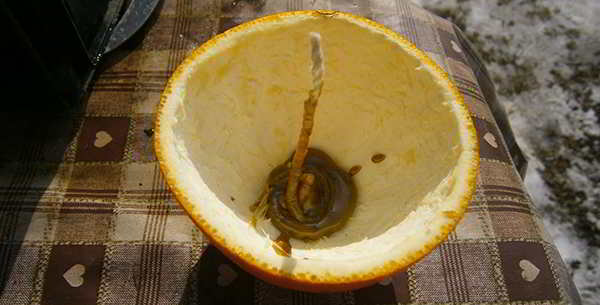
Finally, you will have to fill it up. You might also need to keep the wick straight with your hands. It will melt the resin that’s holding it and may try to fall down; just use toothpicks to keep it at the same spot until it hardens, which will take roughly 10–15 minutes.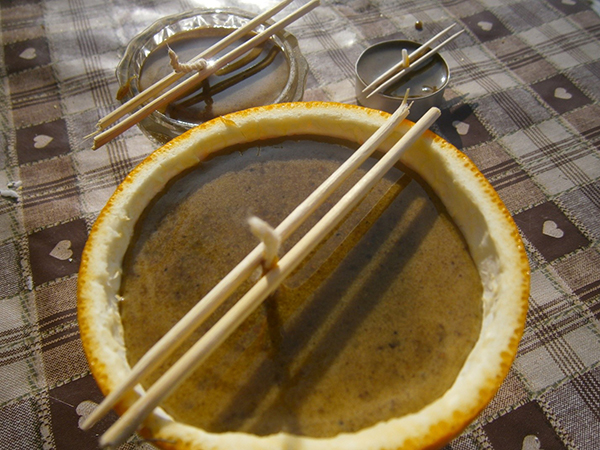
Enjoy your homemade pine resin candles.
I just recently read that you can make candles using pine resin. Now that excited me since I'm surrounded by pine forests and gathering the resin would be free! I need to look up the tutorial again; if anyone else is interested, I'll post it here.
ermm... I suspect they meant the seeds within the cones? lol