Upcycled/repurposed projects (MANY)

Joel_BC

Super Self-Sufficient
Joined
Nov 21, 2011
Messages
1,284
Reaction score
318
Points
227
Location
Western Canada
I'm always refurbishing, recycling or upcycling things, so too many to list but here's one larger one I finished just recently, though I still have to add one component.

This is a full sized antique bed frame bought at Good Will for $15 that I turned into a tiny daybed/bench for my granddaughter for when she sleeps over at my house.
Nice concept, great re-use, pretty outcome. Yes! Thanks for posting, Beekissed. Always interesting to see your projects. (And the little darlin' is cute & sweet.)
 

Beekissed

Mountain Sage
Joined
Jul 11, 2008
Messages
12,774
Reaction score
3,943
Points
437
Location
Mountains of WV
As promised, posting a pic of the finished safety guard for Aliza's daybed...this is just heavy brocade bought in the bargain bin. Hemmed, sewed a pocket at the top to accommodate a 1x2 board, stapled underneath the bed and then secured with another 1x2 screwed into the fabric and frame. The board in the pocket at top has holes drilled into the ends and 550 cord passed through to tie it onto the bedposts.

When not in use, the board is removed from the pocket and the cloth is velcroed under the frame and cannot be visualized at all. And it all works like a dream...literally!

LL


LL


LL


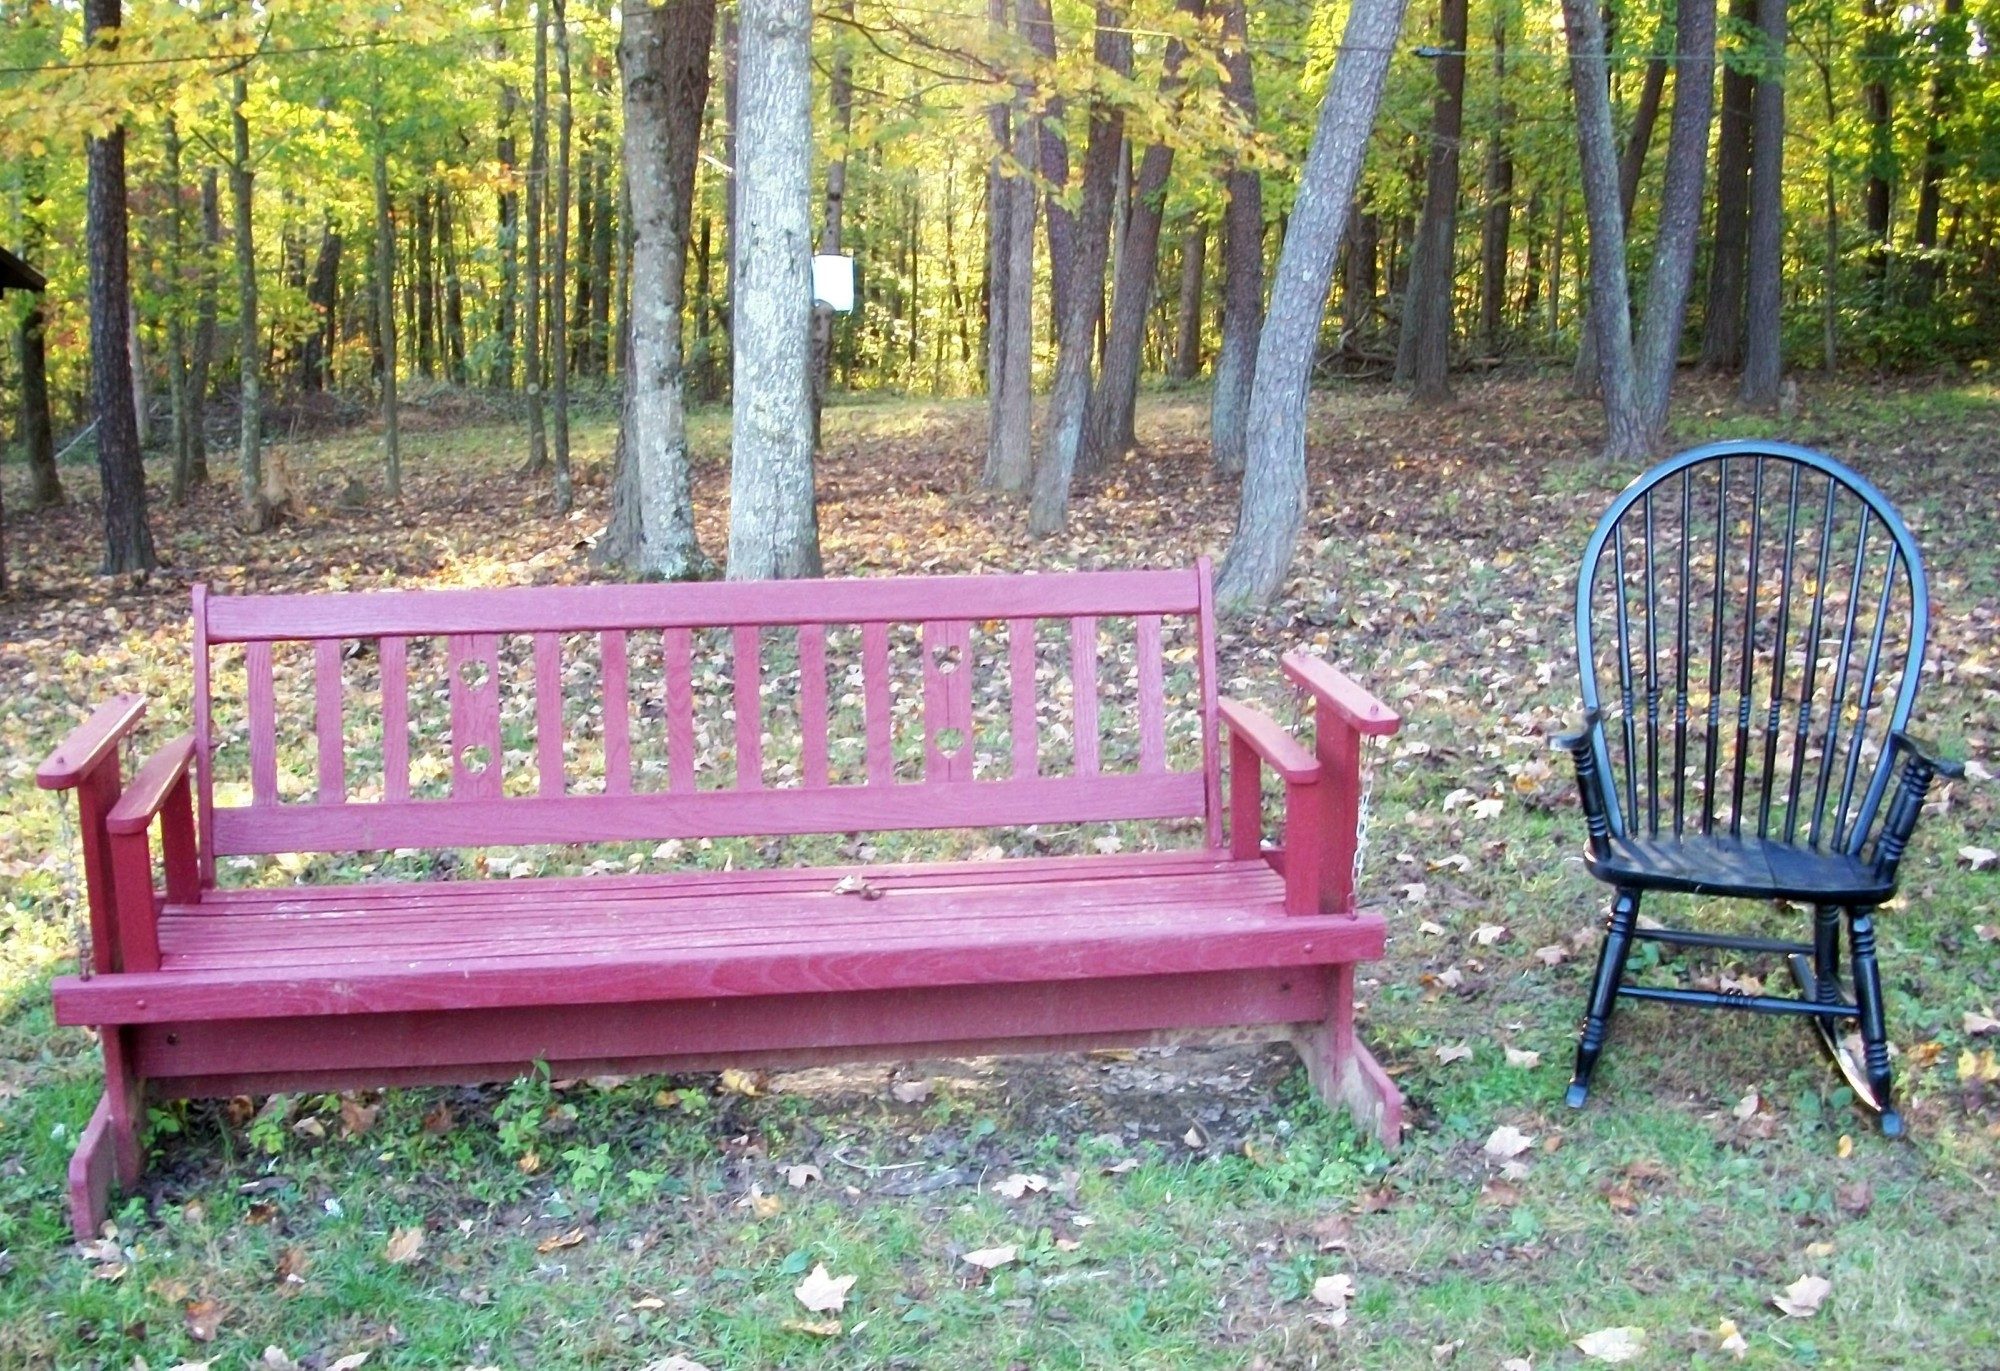
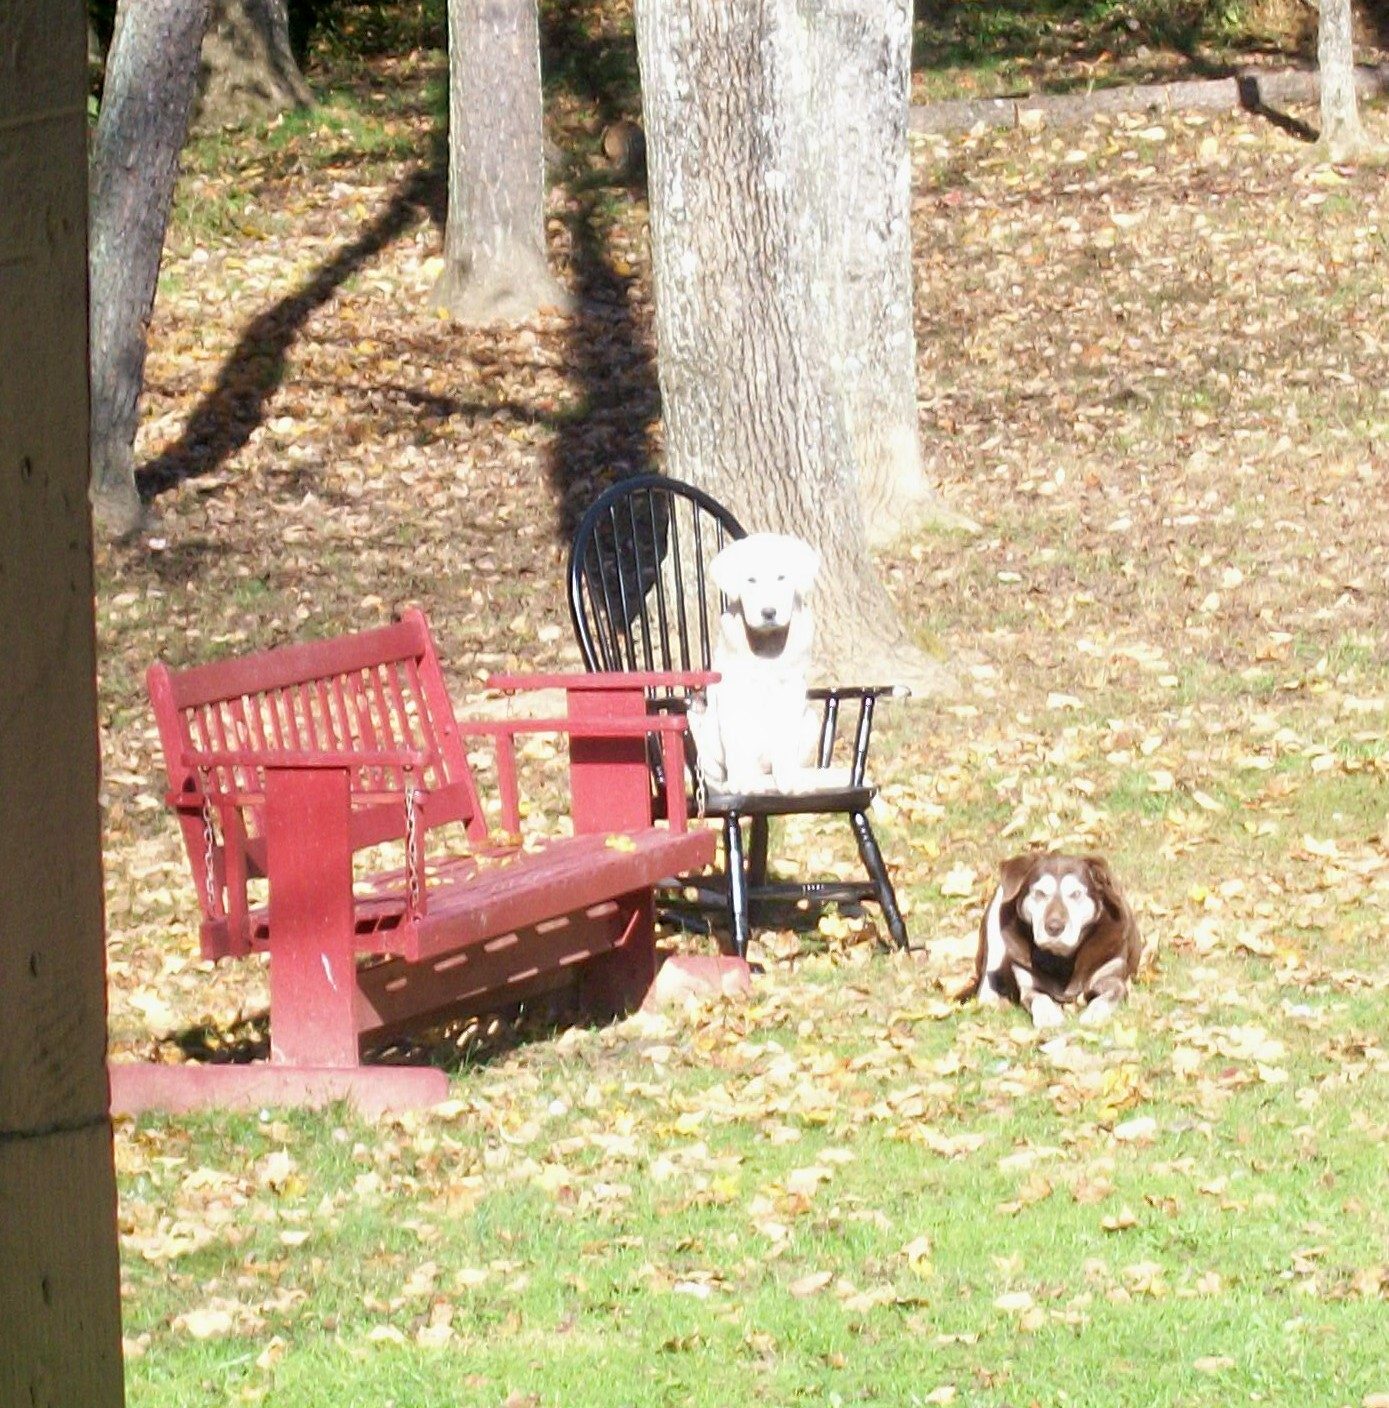
And a pic of that rocking chair that I scooped off the curb...it has now become "lawn" furniture.

900x900px-LL-32a62211_100_3730.jpeg


And the new pup has been chewing on the arm of it...

900x900px-LL-2e780398_100_3819.jpeg


But we are getting good use out of it, all the same...

LL


Will be doing another small project or two with some pallets I rescued the other day...will post them when I get them done.
 

Beekissed

Mountain Sage
Joined
Jul 11, 2008
Messages
12,774
Reaction score
3,943
Points
437
Location
Mountains of WV
Thank you! But I cannot take credit for it all...my middle son helped me with the framing, as he just happened to be out at the house that day. He helped me get the screws into this hard as a rock bedstead wood...cherry, I think.

If one were to view it from up close and they were craftsmen of any kind, they'd be chuckling at all the mistakes we made! :D Good thing I don't know any such people!! :gig
 

Joel_BC

Super Self-Sufficient
Joined
Nov 21, 2011
Messages
1,284
Reaction score
318
Points
227
Location
Western Canada
This man made a backyard metal-casting furnace. It uses waste oil as fuel. Home casting of aluminum is fairly common, casting bronze is far less so. This guy can cast iron or steel in his backyard set-up - and that’s quite rare.

oilburners07_foundryunit.JPG


He’s built his casting-furnace set-up with modified existing components, some readily available stock parts, and some parts he’s made from scratch. To see the rig and his explanation of it, proceed through the five successive pages.
http://www.backyardmetalcasting.com/oilburners01.html

Hats off to this guy!
 

Joel_BC

Super Self-Sufficient
Joined
Nov 21, 2011
Messages
1,284
Reaction score
318
Points
227
Location
Western Canada
IMG_3860.JPG
Hello - I haven’t posted here for a while. I thought I’d share this very simple and useful tool that I made from a few things lying around my shop. It’s a fid. A fid is used for untying tight knots in cord or rope, by pressing the pointed end in and working a loop (or loops) of the knot a bit until the knot is loosened and can then be pulled open with your fingers. Anyone who works with rope at times - and that includes virtually all homesteaders - finds a tool like this quite valuable.

The fid I made is a real basic, even fairly crude, tool that simply does the job. I made this from a 5/16" by 7” “lag bolt” (wood bolt). I cut off the hex head with an angle grinder fitted with a zip disc, but could have used a hacksaw. I sharpened the bolt at the other end to the point you see in the pic, using a wheel on my bench grinder.

I found two sizes of copper plumbing pipe around the shop such that one slipped fairly snugly around the bolt, and the other fit fairly snugly around the first pipe. I cut them to a comfortable handle length, and ground away any burrs remaining from the cutting procedure. I heated the handle end of the bolt with a propane torch, and applied flux and plumber’s 50/50 solder to it. With the pointy end of the bolt held secure in a bench vise, I slid the other end into the smaller copper pipe. Then I heated the copper piece with the torch and fed more solder into the space between (as if I was “sweating” a plumbing joint). After that, I melted a thin coat of solder onto the outside of the small copper pipe, then slid the other copper pipe over it and again fed solder in to bond the larger pipe around the smaller.

Once everything was cooled, I did a slapdash but sufficient job of grinding a bit of shape into the handle for comfort in the hand when using the tool.

That was basically it.

The tool works well for me and the threads left on the lance made from the bolt can actually be helpful for teasing portions of a knot as you work to loosen it’s loops.
 
Top